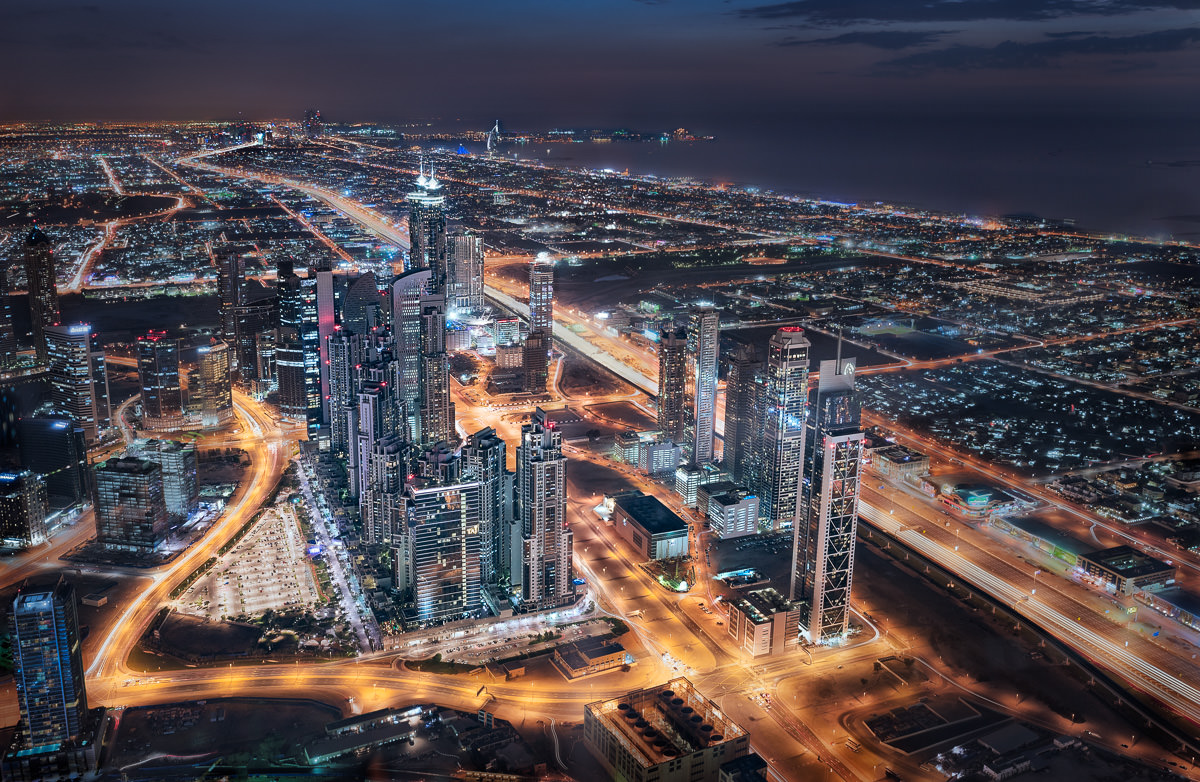

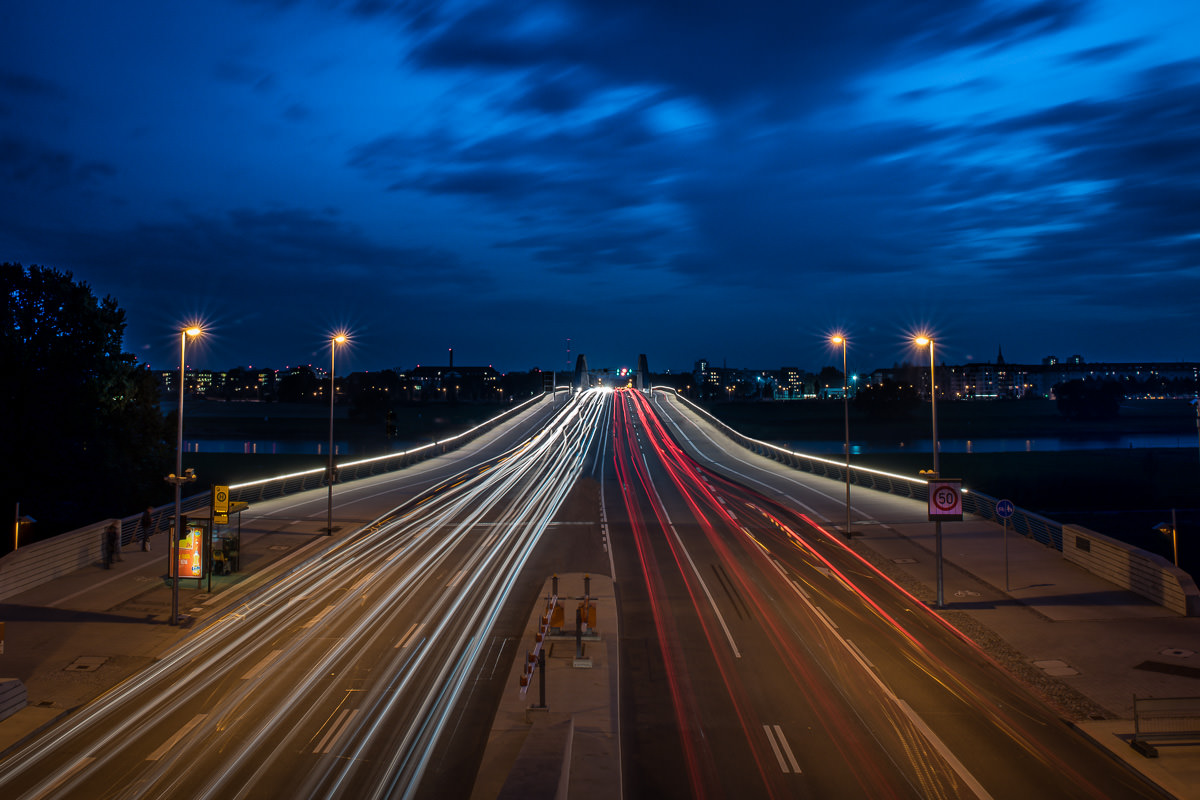
Impressive Light Trail Photos in 10 simple steps
- Shoot in the evening, ideally on a weekday and on a busy street to get more cars
- Position yourself so that you can clearly see rear and/or headlights
- Shoot at blue hour or later. Use http://www.bluehoursite.com/ to determine the times.
- Put your camera on a tripod, a wall, a beanie bag, or anything else to keep it still
- Switch OFF vibration reduction / image stabilization on your lens while it is on a tripod
- Dial in Aperture Priority Mode at f/16
- Set ISO to 100
- Set White Balance to Tungsten
- Focus on the most important item in the photo, e.g. a building
- Use a remote trigger or set the self timer to 2 sec delay and take the shot
Tip: Don't get carried away by how cool the light trails look! Always check the sharpness of the picture by zooming in on the LCD before walking away!

Wait! That's still not what I wanted!
Don't worry, Help is at hand!
Try the first step and if needed add the next one
- After you focused, move the focus point to the brightest area of the photo, but do NOT focus again (for more details on how to do this check out the Focus Lock section here). Take a shot and review.
- Dial your exposure compensation to -1. Still too bright? Try -2. Keep going.
- Wait it out until it gets a bit darker. Nature will solve this one for you.
- Use a smaller aperture like f/22 to get a longer shutter speed at the same overall brightness
- Bring exposure compensation down a bit more.
- If that did not do the trick yet and the photo gets too dark again, you have but 2 options:
- Use post-processing software and simply pull up the shadows slider. It is only one simple change. This will brighten up the dark areas.
- Use a Neutral Density filter to get a longer shutter speed at the same overall brightness.
- Set exposure compensation to +1. Still too dark? Try +2
- Check Cityscapes at night for more tips if you still cannot get to a balanced overall brightness.
- Push the trigger right when traffic flows the strongest (e.g. when a traffic light just opened)
- Use a smaller aperture like f/22 to get a longer shutter speed at the same overall brightness
- Bring exposure compensation down a bit more for an even longer shutter speed
Set white balance to another setting. It's just a matter of taste.
-
Either your focus is not spot on or your camera moved. Try this:First make sure your camera didn't shake:
- Check that you switched OFF vibration reduction / image stabilization on your lens
- Stabilize your tripod more. Stuff the tripod feet deeper into the ground, lower the tripod or hang your bag on it. Fix the bag under the camera with a string and make sure the bag is on the floor so it doesn't swing around.
- Didn't use a tripod? Get creative! Put the camera on a bag of rice or sand or put it on a straighter surface.
Then adjust the focus:- In the dark cameras often have problems with auto-focus. Change the aperture to the smallest possible number for focusing (the camera can see more light then). If the camera managed to auto-focus, change your aperture setting back, do NOT focus again (for more details on how to do this check out the Focus Lock section here) and take the shot.
- If auto-focussing did not work, focus manually. Switch off auto-focus on your lens or camera and use your LCD screen to zoom in as much as possible. Find the focus ring on the lens and turn it clockwise all the way (this focuses a bit further than infinity). Then turn it counterclockwise a little bit until the bright area is sharp (when it is the smallest). Take the shot and review it (zoom in!).
- If you can only see 'moving ants' on your LCD screen, use trial and error. Turn the focal ring as in the step before, take a shot and review it by zooming in. Turn the focal ring a bit more if necessary and check again.
- Position the street in a way that it leads into the photo from a corner towards a building or other point of interest
- Get lower! Lower the position of your camera to create a different angle.
- Zoom in and put more focus on a smaller area
Leave a Reply