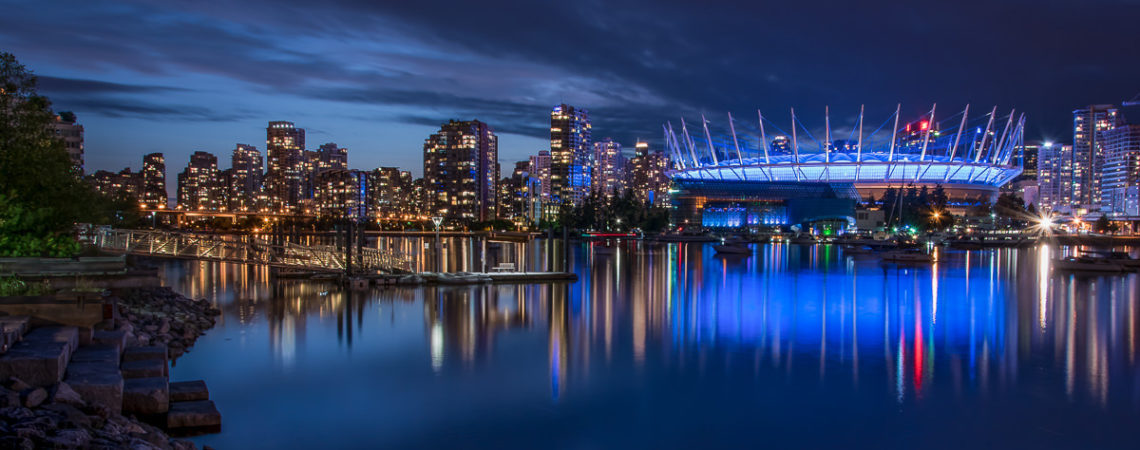
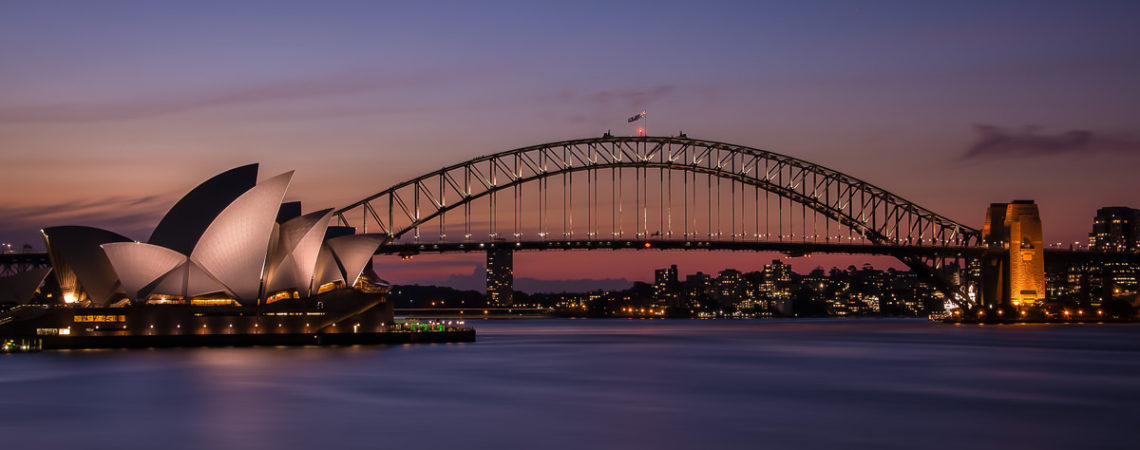
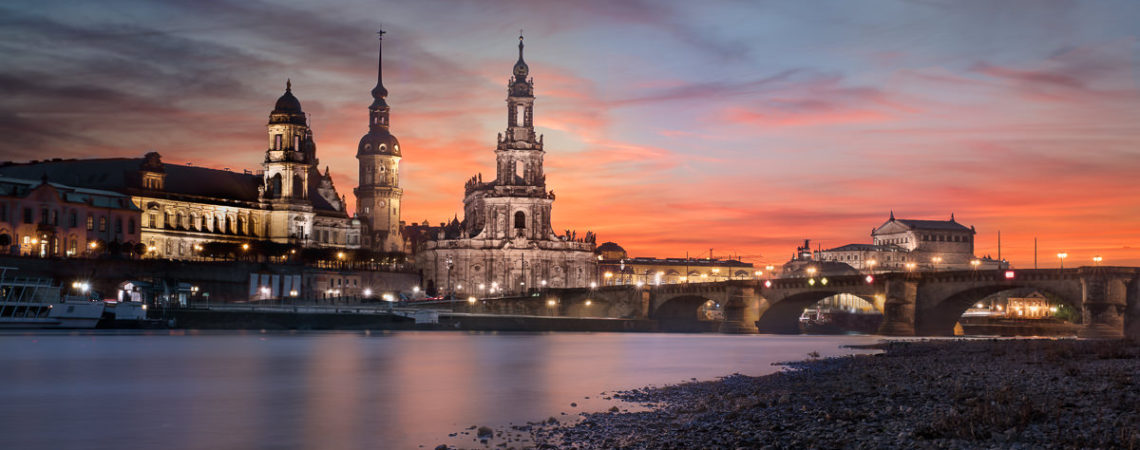
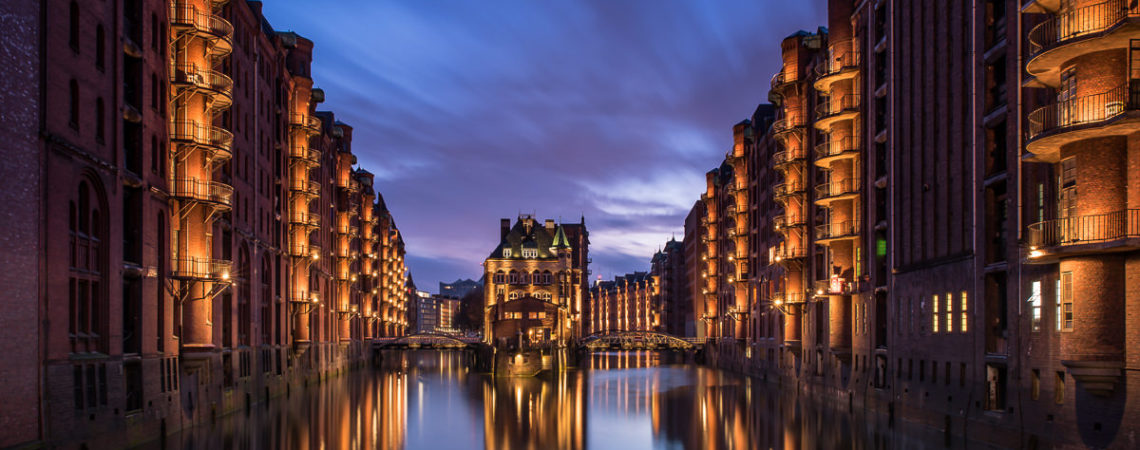
9 steps to stunning night city photos
- Shoot in the evening and ideally on a weekday for most city lights to be on
-
Use Bluehoursite to determine the sunset time for your location. 10-15 min after sunset the sky gets colourful, after that it turns deep blue (blue hour)
-
Put your camera on a tripod, a wall, a beanie bag, or anything else to keep it still
-
Switch OFF vibration reduction / image stabilization on your lens while it is on a tripod
-
Use Aperture priority at f/8 if everything is far, use f/16 if you also have a foreground element (this also gives a nice starburst effect for the lights)
-
Set ISO to 100
-
Set White Balance to Tungsten
-
Focus on a spot with high contrast between bright and dark, like a lit window or a neon sign. (If you cannot move the focal point, set the AF-area mode to Single Point Focus)
-
Set self timer to 2 sec or use a remote to take the shot
Tip: Choose a day with clouds in the sky! As long as it's not completely overcast, they may create stunning sunsets
Wait! That's still not what I wanted!
Set white balance to another setting. It's just a matter of taste.
First make sure your camera didn't shake:
- Check that you switched OFF vibration reduction / image stabilization on your lens
- Stabilize your tripod more. Stuff the tripod feet deeper into the ground, lower the tripod or hang your bag on it. Fix the bag under the camera with a string and make sure the bag is on the floor so it doesn't swing around.
- Didn't use a tripod? Get creative! Put the camera on a bag of rice or sand or put it on a straighter surface.
Then adjust the focus:
- In the dark cameras often have problems with auto-focus. Change the aperture to the smallest possible number for focusing (the camera can see more light then). If the camera managed to auto-focus, change your aperture setting back, do NOT focus again and take the shot.
- If auto-focussing did not work, focus manually. Switch off auto-focus on your lens or camera and use your LCD screen to zoom in as much as possible. Find the focus ring on the lens and turn it clockwise all the way (this focuses a bit further than infinity). Then turn it counterclockwise a little bit until the bright area is sharp (when it is the smallest). Take the shot and review it (zoom in!).
- If you can only see 'moving ants' on your LCD screen, use trial and error. Turn the focal ring as in the step before, take a shot and review it by zooming in. Turn the focal ring a bit more if necessary and check again.
Set exposure compensation to +1. Still too dark? Try +2
- After you focused, move the focus point to a bright area in the sky, but do NOT focus again. This will only affect how the camera measures the light.
- Set exposure compensation to -1. Still too bright? Try -2
You can only fix this in post-processing (or with a graduated neutral density filter).
Use post-processing software and simply pull up the shadows slider. It is only one simple change. This will brighten up the buildings.


Leave a Reply