

Take stunning Airplane photos in 10 simple steps
- Figure out when flights arrive and depart at the local airport's website (long haul flights = larger airplanes)
- Use Spotterswiki to find a good place to shoot from (might be the viewing platform or a field)
- Shortly before you go, zoom into your airport in the map of Flightradar24. You can see where the planes currently line up and estimate which runway they will use. Verify that you can see that runway from the location you chose.
- Mount the longest lens you have available. Ideally with a focal length of 300mm or more
- Switch to Continuous-servo AF Autofocus Mode
- Switch to Continuous Shooting Release Mode
- Use Shutter Speed Priority (S) at 1/500 sec
- Decide where in your frame you want to see the airplane (e.g. a little to the top left of the middle) and put your focus point there in advance
- Move the camera along so that your focus point stays on the airplane
- Keep the shutter fully pressed to take several photos to choose from
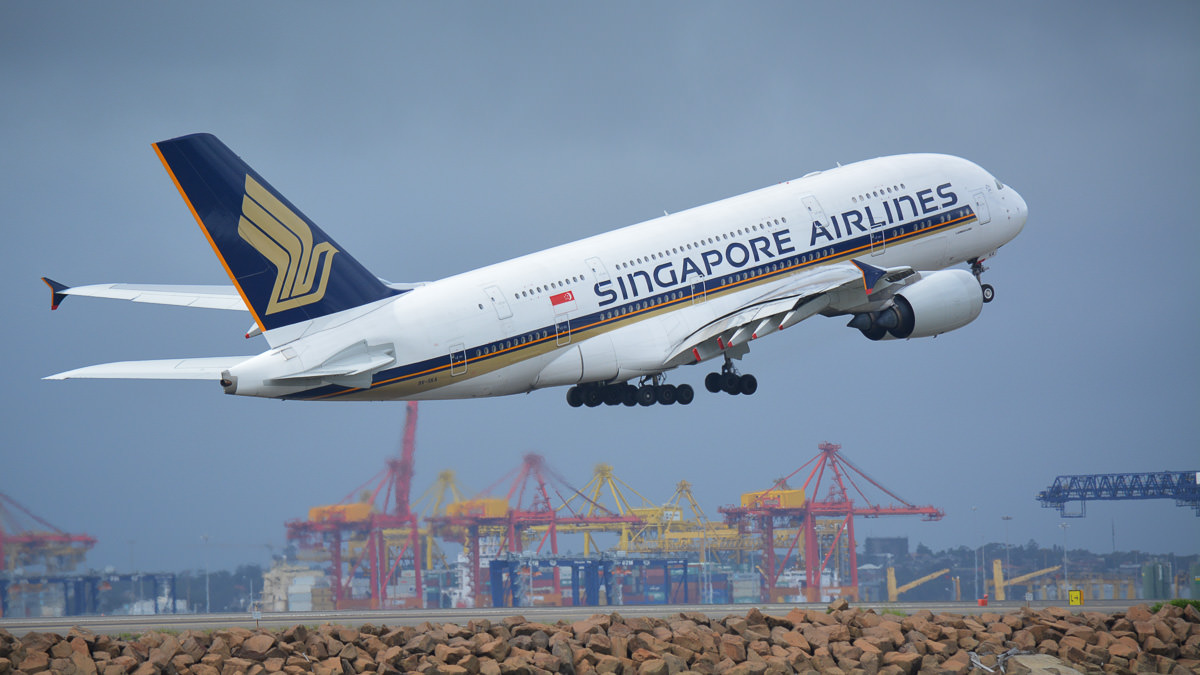
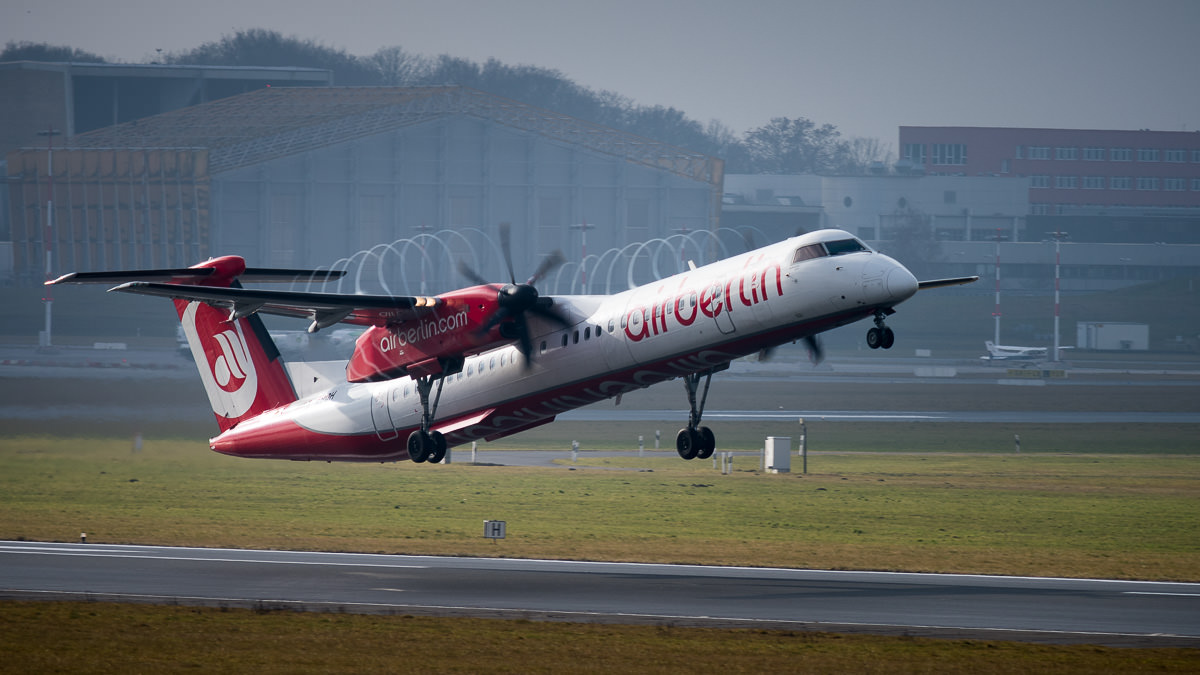
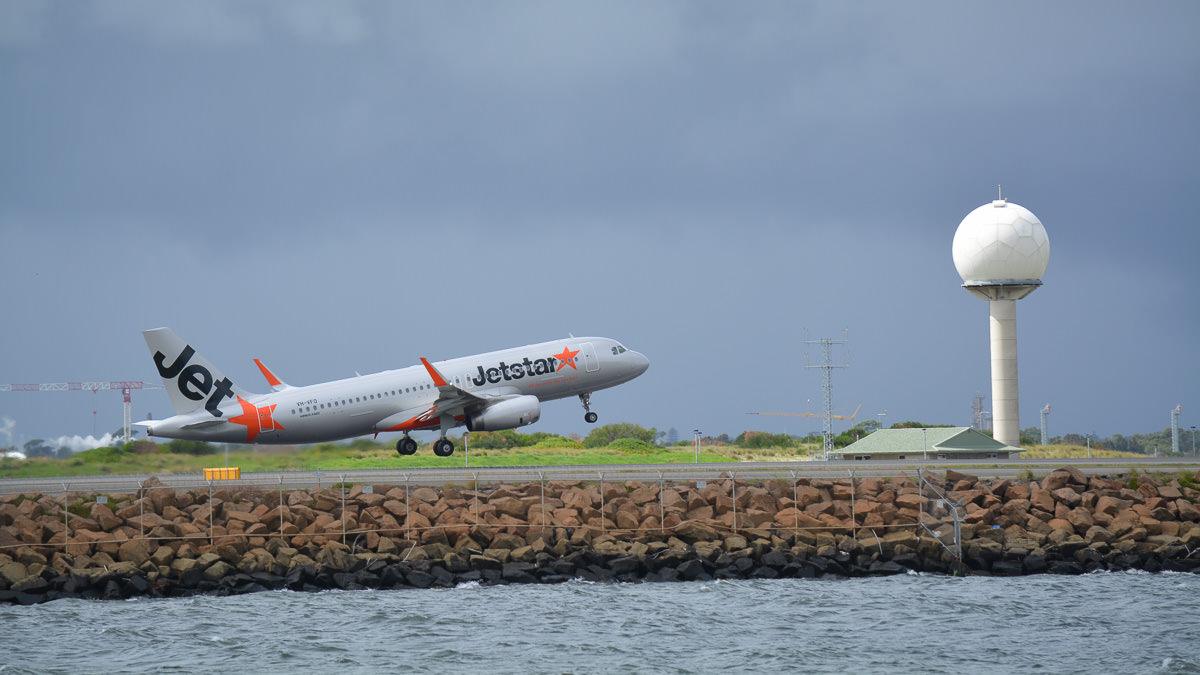
Tip: Airplanes close to the ground make for the biggest impact! Leave some space in the direction the plane is going to!

Wait! That's still not what I wanted!
Don't worry, Help is at hand!
Try the first step and if needed add the next one
- Think of a compass: 0° = North, 90° = East, 180° = South, 270° = West.
- The number of a runway indicates the direction the plane moves on it, seen in degrees. So runway 09 means that planes are going towards 90°, i.e. they are coming from west and going east. All numbers between 0 and 36 are possible, depending on how diagonally the runway is positioned
- If there are several parallel runways, they are additionally marked with L (left), R (right), C (center) seen in the direction of travel.
- So runway 09R is the same piece of asphalt as runway 27L, just used from west to east (09R) or from east to west (27L). (Note that the numbers are 18 apart, i.e. 180°).
- Continuous-servo AF Mode tells your camera to KEEP RE-FOCUSING on the airplane as long as you push the shutter button. This is usually found in your menu under Autofocus Modes.
- Continuous Shooting Mode causes the camera to KEEP TAKING PHOTOS as long as you hold the shutter release button (rather than taking one photo only). Don't worry about pushing the shutter at the best moment, pick the best photo from a series afterwards. This mode is often found on a dial on your camera or in your menu under Release Modes.
- Please refer to Focus Modes for a closer look and less confusion
At such short shutter speeds moving is not a problem for the photo itself, but it can make it difficult to frame the photo.
- If possible, rest your arms on a wall or lean against one
- If there's no wall, take a firm stand with one leg to the front. Put your left hand UNDER the lens. Rest the left upper arm on your chest (elbows firmly into your body). Use the viewfinder rather than the LCD. This will stabilize your movements. This article has some photos to illustrate stable shooting positions.
- Put the camera on a tripod and only pan it sideways. This limits your shot to a certain area because you cannot get the upwards movement of the airplane. But if you want to get the planes shortly above the ground it might still work well
Unless there is some natural barrier or you are really far, airports tend to be fenced. You would not be the first person to bring a ladder, or you get the fence so far out of focus that noone sees it:
- Put your lens right onto the fence
- Put the fence on the corners of the photo as much as possible
- Make sure that your focus point is on a place that is not inhibited by the fence
- After you took a photo, check if your camera chose a large aperture (e.g. f/2.8 to f/5.6). It usually will if you select a short shutter speed. But if it didn't then go to Manual Mode and dial in the lowest possible aperture and a shutter speed of 1/500 sec. Increase ISO until the photo is bright enough if necessary.
- If you cannot move the focus point around then your camera is set to Auto-area Autofocus. This might work just fine if the plane is big in the frame and you are not photographing through a fence or glass. Give it a try!
- If the camera does not focus on the plane, single point focus gives you more control. Change your AF-area mode. See The only 7 camera functions you need to know for more details
- Use the viewfinder rather than the LCD to take the shot. The camera focuses faster then
- Make sure you have continuous-servo AF mode on, rather than single-servo AF. Refer to Focus Modes for a better understanding
- Make sure you have single point focus selected in the AF-area mode and you keep that focus point on the airplane
A shutter speed of 1/500 sec is usually a good starting point. If you can still see the single propeller blades, then slow down your shutter speed to 1/400 sec and keep going until 1/125 sec. Make sure the plane itself is still sharp!
- Slow down the shutter speed to 1/400 and keep going as long as the plane is still sharp.
- If the airplane is not sharp anymore, use the last sharp shutter speed and increase the ISO to 200, then 400. Keep going until the photo is bright enough.
Put exposure compensation to -1. Still too bright? Try -2
Tip: Check this beforehand with a landscape shot without any plane in the sky to not miss the airplane shot!
That's just bad luck! Often the runway in use remains stable over a longer period in time. However, airplanes always take off AND land AGAINST the wind, so flight control might change the runways at any time. Check Flightradar24 again to see which runway is in use now and go back to step 2.
Leave a Reply