Natural forest photos in 8 quick steps
- Shoot at Golden Hour (first hour after sunrise / last hour before sunset). Use Golden Hour Calculator to determine the exact times for your location
- Steady your camera on a tripod, rock, wall or beanie bag
- Shoot at the widest angle you have to get more into the frame
- Use Aperture Priority Mode at f/16
- Start with ISO 100
- Set your white balance to cloudy
- Focus on the first tree in the foreground
- Set the self timer to 2 sec or use a remote to take the shot
Tip: Shoot in the morning to catch mist and due, at midday for the canopy and in the evening for soft light.
Another Tip: Leaves tend to move easily, so zoom into your photo to make sure it's not shaken.

Wait! That's still not what I wanted!
Don't worry, Help is at hand!
Try the first step and if needed add the next one
The trees are shaken!
Most likely the leaves moved, but potentially your camera was not completely steady either.
- Switch OFF vibration reduction / image stabilization on your lens while it is on a tripod
- Stuff you tripod feet deeper into the ground. If that's not possible, hang your bag filled with some rocks on the tripod. Fix it under the camera with a string and make sure the bag is on the floor so it doesn't swing around.
- Lower the tripod to make it more stable.
If it's windy, you'll need a shorter shutter speed:
- Find the exposure compensation button and set it to -1, then -2
- Use a smaller number for the aperture, go down at most to f/8 for sharp focus throughout most of the photo
- Increase ISO to 200, then to 400 etc.
The green does not look natural!
Try another white balance setting until you find one you like
My whole photo is way too bright!
- After you focused, move the focus point to the brightest area of the photo, but do NOT focus again. Take a shot and review.
- Dial your exposure compensation to -1/3. Still too bright? Try -2/3. Keep going.
The trees look fine but my sky is too bright!
- The easiest way to solve this is to compose your photo so that there is no or very little sky in it! If that's not an option:
- Don't trust your eyes! Switch on the highlight warning on the LCD to see if any areas are blinking. Then darken the photo as follows
- Dial your exposure compensation to -1/3. Still too bright? Try -2/3. Keep going
- If your camera offers it, you can also try to take an HDR shot in these situations
Now the sky is fine but the trees look too dark!
You can only fix this in post-processing (or maybe with a graduated neutral density filter).
Use post-processing software and simply pull up the shadows slider. It is only one simple change. This will brighten up the forest.
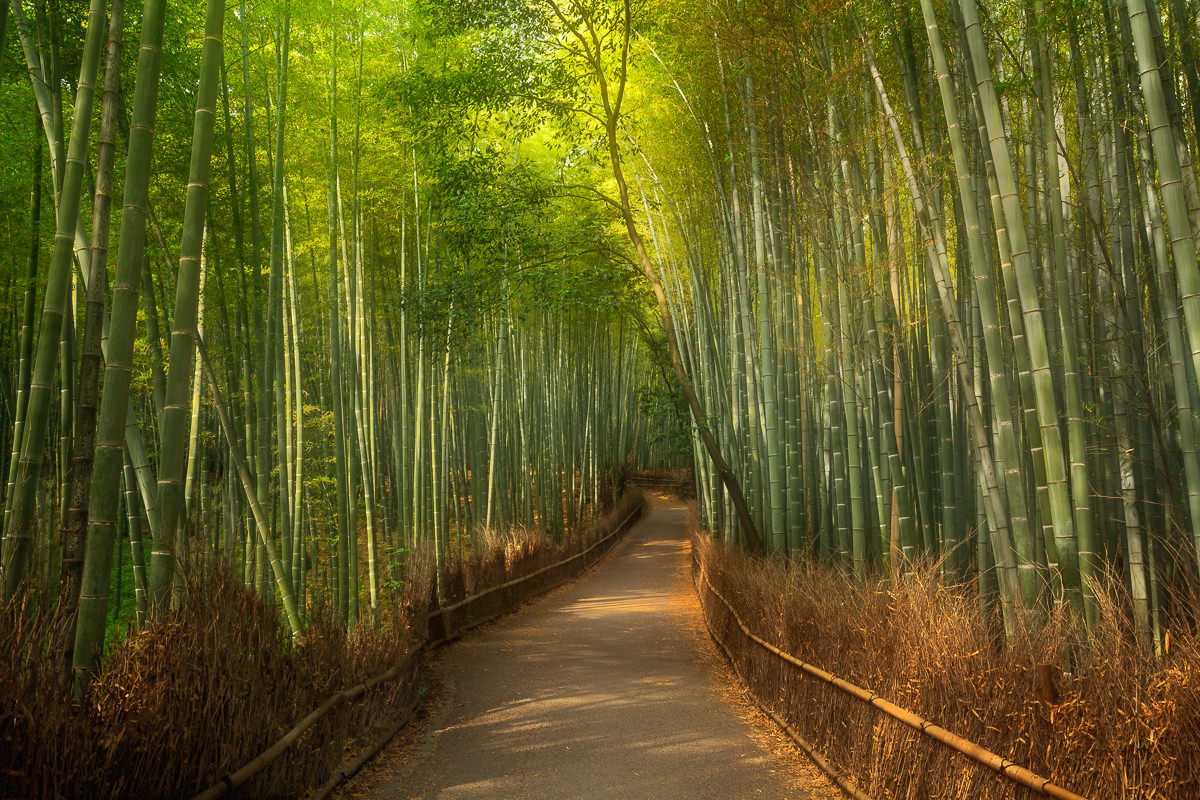
This composition is not doing it!
- Put very little sky in the picture
- Look for patterns in the lines of trees and one thing that stands out
- Take a vertical picture for a height impression, a horizontal one to show vastness
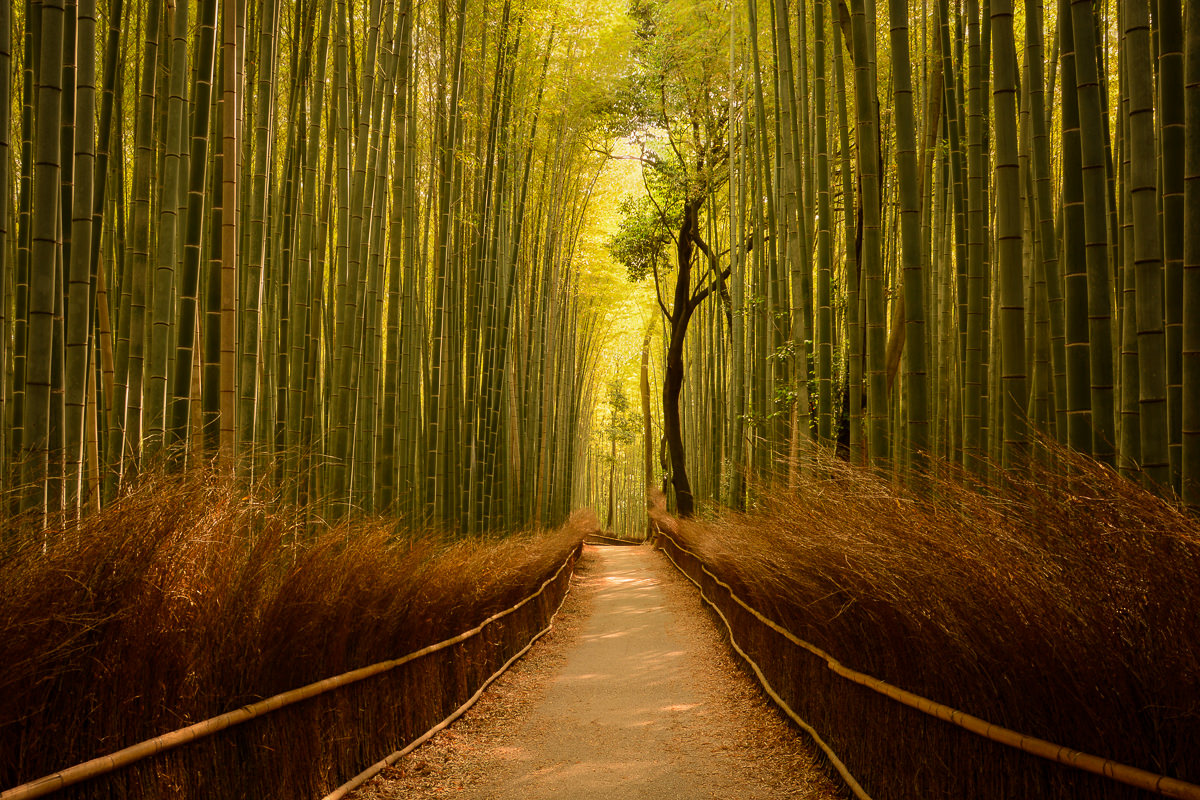
- If the photo includes a path, put the path between the botton third and bottom half of the photo, not lower
- Include the sun directly into the photo but hide almost all of it behind a tree. Shoot at f/16. This will give you a cool sunstar effect
Leave a Reply